English
English
This page walks through building a working integration end to end — from "I have access to a tenant" to "my processor is producing data." It moves through the steps without explaining every concept along the way; if a term feels unfamiliar, Architecture covers the data flow and The Spec Builder tours the UI.
The flow has six steps:
You'll have a working integration after step 6. Steps 1–4 are admin-UI configuration; step 5 is the Spec Builder work; step 6 uses the Trace viewer.
Open Providers → Providers and click New provider.
The form asks you to pick a type first — this is the kind of external system you're connecting (GoHighLevel, Trello, Monday, generic webhooks, …). The list of available types is set by the SalesDash deployment; new types are added in the codebase rather than in admin.
Once you've picked a type, the form expands to show that type's credentials and settings. Most types ask for an API key, OAuth credentials, or a workspace identifier. Fill those in, give the provider a recognisable name, and save.
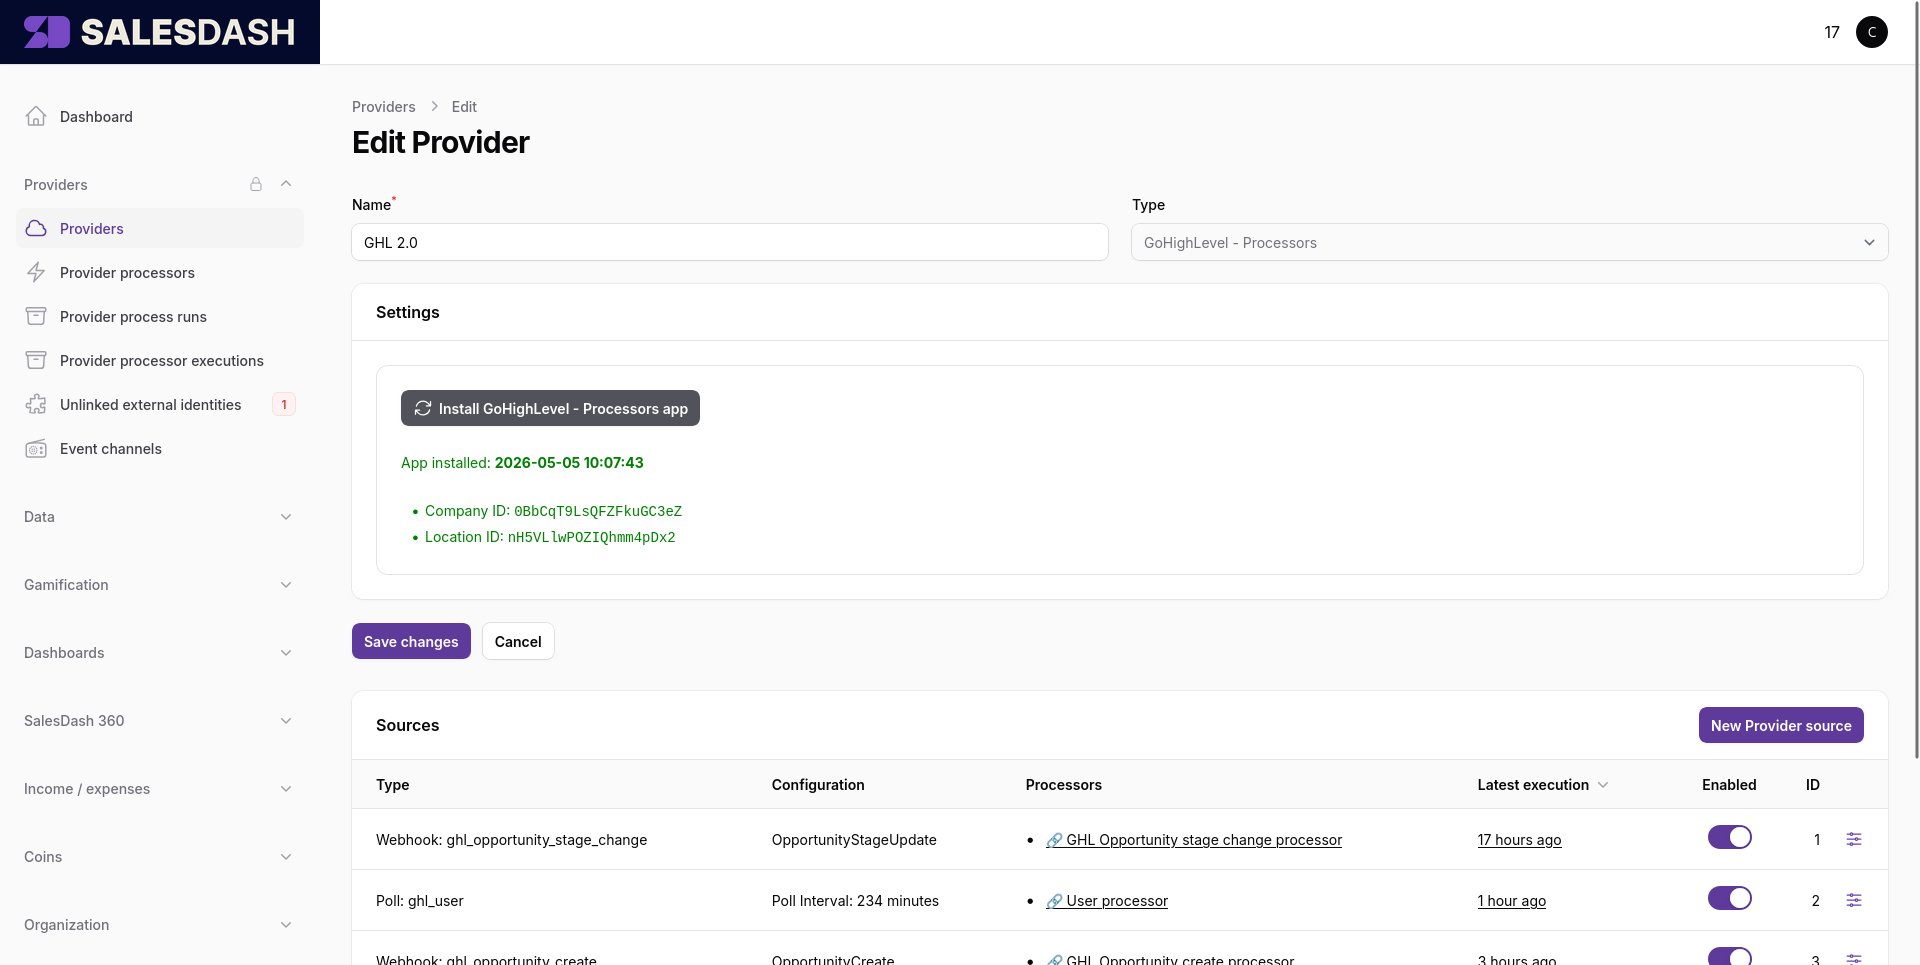
You land on the provider's edit page, where the Sources section at the bottom is where you'll work in step 2.
In the Sources section on the provider's edit page, click New Provider source. A modal opens.
Pick the source type from the dropdown. The available types depend on the provider's type — a CRM provider typically offers things like an opportunities poll source and an opportunity webhook source; a phone-system provider offers calls poll and calls webhook; the generic webhook provider offers a single payload-based source.
The fields below the type picker change based on what you picked:
The modal also has a Processors section near the bottom. You can leave it empty for now — you don't have a processor yet. Step 4 brings you back here to link one.
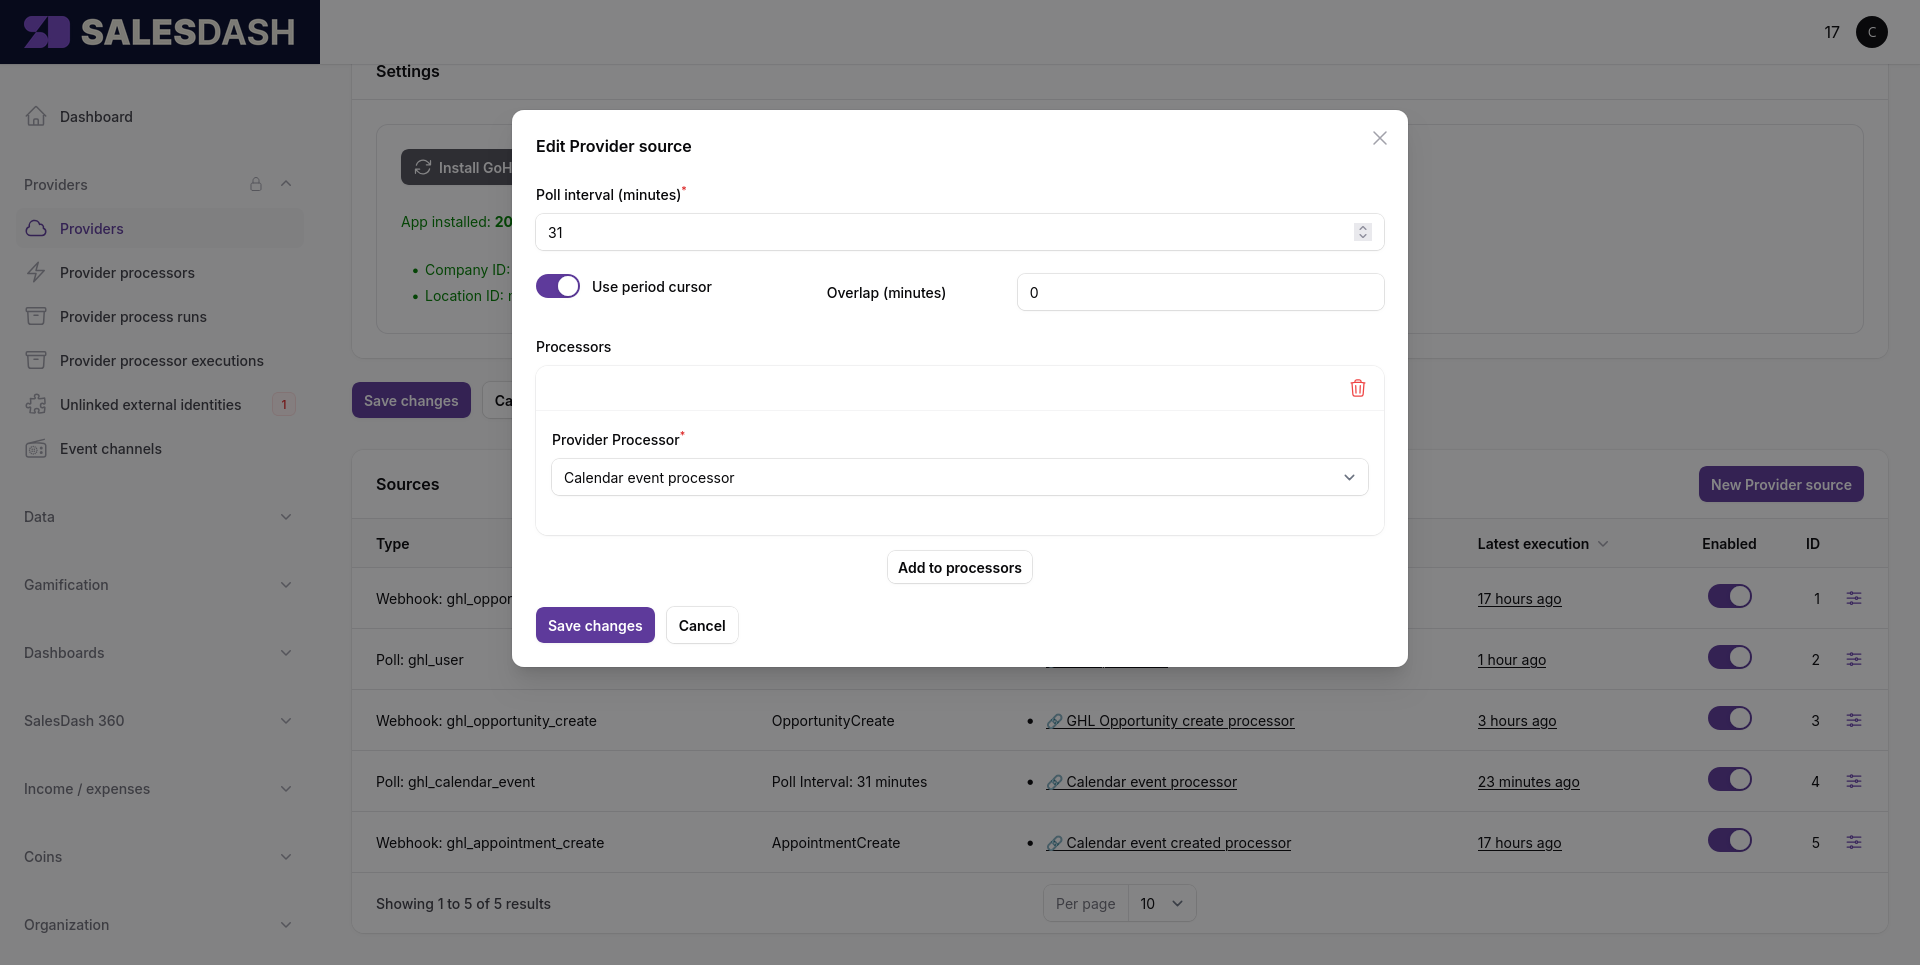
Save. The source exists, but with no processor linked it has nothing to do with any data it delivers yet.
Each source run gets logged
Every poll cycle and every incoming webhook batch is recorded as a source execution. If something's wrong at the source level — credentials are off, the external system is rejecting requests, a webhook body doesn't parse — that's where you'll see it. You reach source executions from the View source executions button on the Provider processor executions list. Worth checking after the first run if you're not sure data is flowing.
Open Providers → Processors and click New processor.
You'll be asked for two things:
Save. The processor exists now but its spec is empty and it's not enabled — both will be filled in by steps 5 and 6.
Linking happens from the source side, not from the processor side. Both have to exist before you can link them — you've now got both, so you're ready.
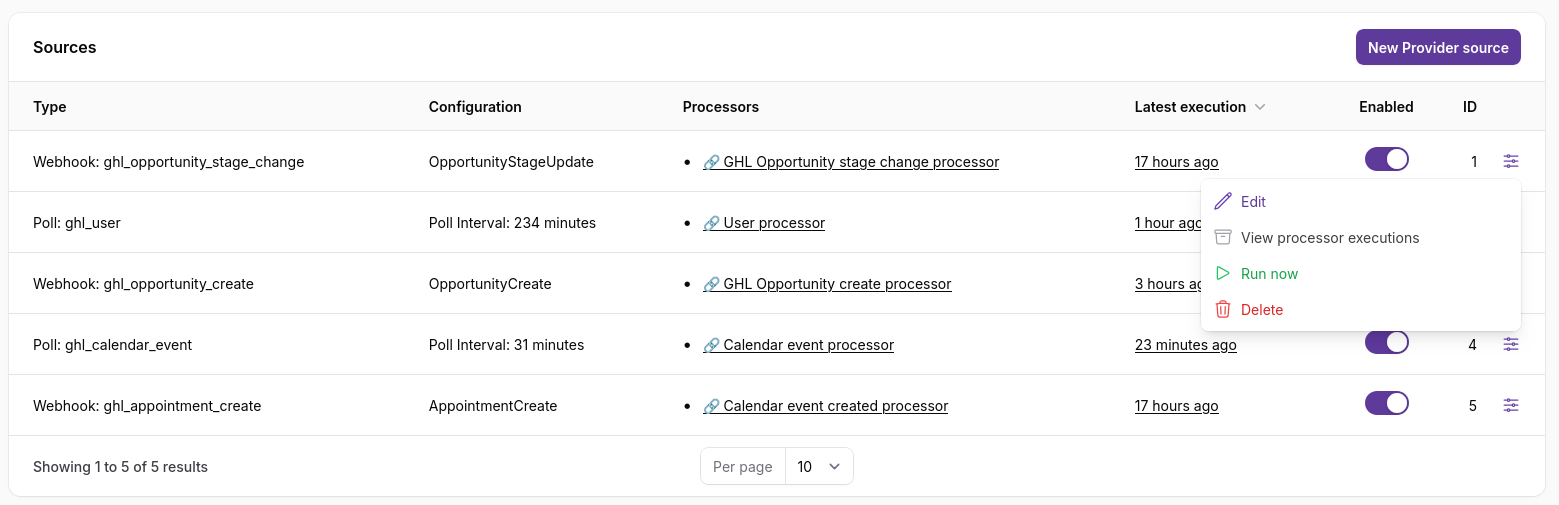
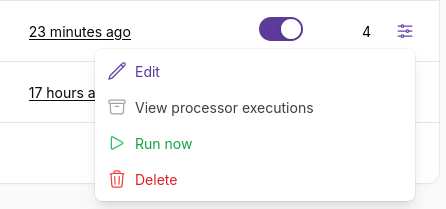
Go back to the provider's edit page, find the source you created in step 2 in the Sources table, click the actions icon at the right end of the row, and pick Edit.
The same modal you saw in step 2 opens. Scroll to the Processors section, click Add to processors, and pick the processor you created in step 3. Save.
The source is now connected to the processor: every record this source delivers will trigger the processor on it.
A single source can feed multiple processors — add them all in this same Processors section. A single processor can be linked to multiple sources by repeating this step from each source's edit modal.
If your processor's spec declares constants (in the spec config — see the Spec Builder's left panel), this is also where you'll set their values for this source-to-processor pairing.
On the processor edit page, click Edit spec to open the Spec Builder.
Working order in the spec builder:
var name are correct (they were set when you created the processor). Add any enrichments you'll need (the processor → contact enrichment for a CRM, for example, fetches related contact data and exposes it as a nested field on the source model).return_as.if_else and array iteration in for_each as needed.concat, parse_datetime, equals, and so on.Save with Ctrl+S (or Cmd+S on macOS), or the Save button in the topbar. The validator runs on save — if anything is wired wrong, you'll see inline errors and the save is rejected. Fix and try again.
To verify your spec does what you want, you'll replay it against a real source-model record using the Spec Builder's Test button. There's a small chicken-and-egg here: Test replays a historic processor execution, and a processor execution only exists once the processor has run on a real source delivery — which only happens while the processor is enabled.
So you do this in two phases: get one execution to test against, then iterate.
Once the source runs against the now-enabled processor, the processor produces one or more processor executions. From this point on, the Trace Schema picker in the spec builder has something to replay.
Test runs are not dry runs
Test calls your spec's upsert_* operations for real — every test produces actual Activity / Sale / Call / Period / identity records in the database, just like a live source run would. If your spec has bugs, those bugs produce real records. Re-running with a fixed spec overwrites anything that matches the same external_id; records you accidentally created with a wrong external_id stay around until you clean them up. Worth knowing before your first test, especially if your spec touches activity types you already have metrics on.
if_else blocks take the right branches? Are there errors in red? The variables panel shows you what each variable held during the run.You can keep the processor enabled throughout this loop — Test runs and live source runs use the same spec anyway. Or you can disable it after Phase 1 to stop new live source runs while you iterate; Test still works against the historic execution regardless of current enabled state.
A short checklist to run through before considering the integration finished:
upsert_*_external_identity step in the trace shows found or created, with no red errors. Agents are the most common slip — double-check that the source field you're using really contains the user's ID, not their email or name.if_else blocks. Look at each if_else in the trace and check the branch it took makes sense for this record. If your test record is a "won" deal and your spec handles closed deals on the closed branch, the trace should show the closed branch is the one that ran.external_id values look the way you want. Click an upsert_activity in the inspector and look at its resolved external_id. Is that the shape you want every activity of this kind to have? Getting the external_id wrong is easy to miss and hard to clean up later — every future run uses the same wrong shape, so you either build up duplicates or silently overwrite the wrong records.Once the trace looks right across a few records and the processor is enabled, you're live. Keep an eye on Providers → Processor Executions for the first few real source runs to catch any edge cases the test records didn't cover.
You have a working processor. From here: