English
English
The SalesDash Player is a small device that you connect to a TV via HDMI. It boots automatically into a SalesDash slideshow, without needing a computer or a logged-in account on the screen. This page helps you set up a new Player.
You'll need: the Player itself, the included power supply and HDMI cable, a TV with an HDMI input, and a phone to configure the Wi-Fi network.

After about 20 seconds, the TV shows a waiting screen with two QR codes and the text SalesDash — Connecting….
Connect your phone to the Wi-Fi network SalesDash-Player-XXXX. The serial number is printed on the Player and shown on the TV screen.
Tip: use your phone's camera to scan the first QR code on the TV screen — your phone will then connect to the right network automatically.
Your phone opens a setup page automatically. If it doesn't, scan the second QR code on the TV screen.
Pick your own Wi-Fi network from the list and enter the password.
Within a minute the Player connects to your Wi-Fi. If it didn't work, an error appears and the QR codes return to the screen. You can then try again.
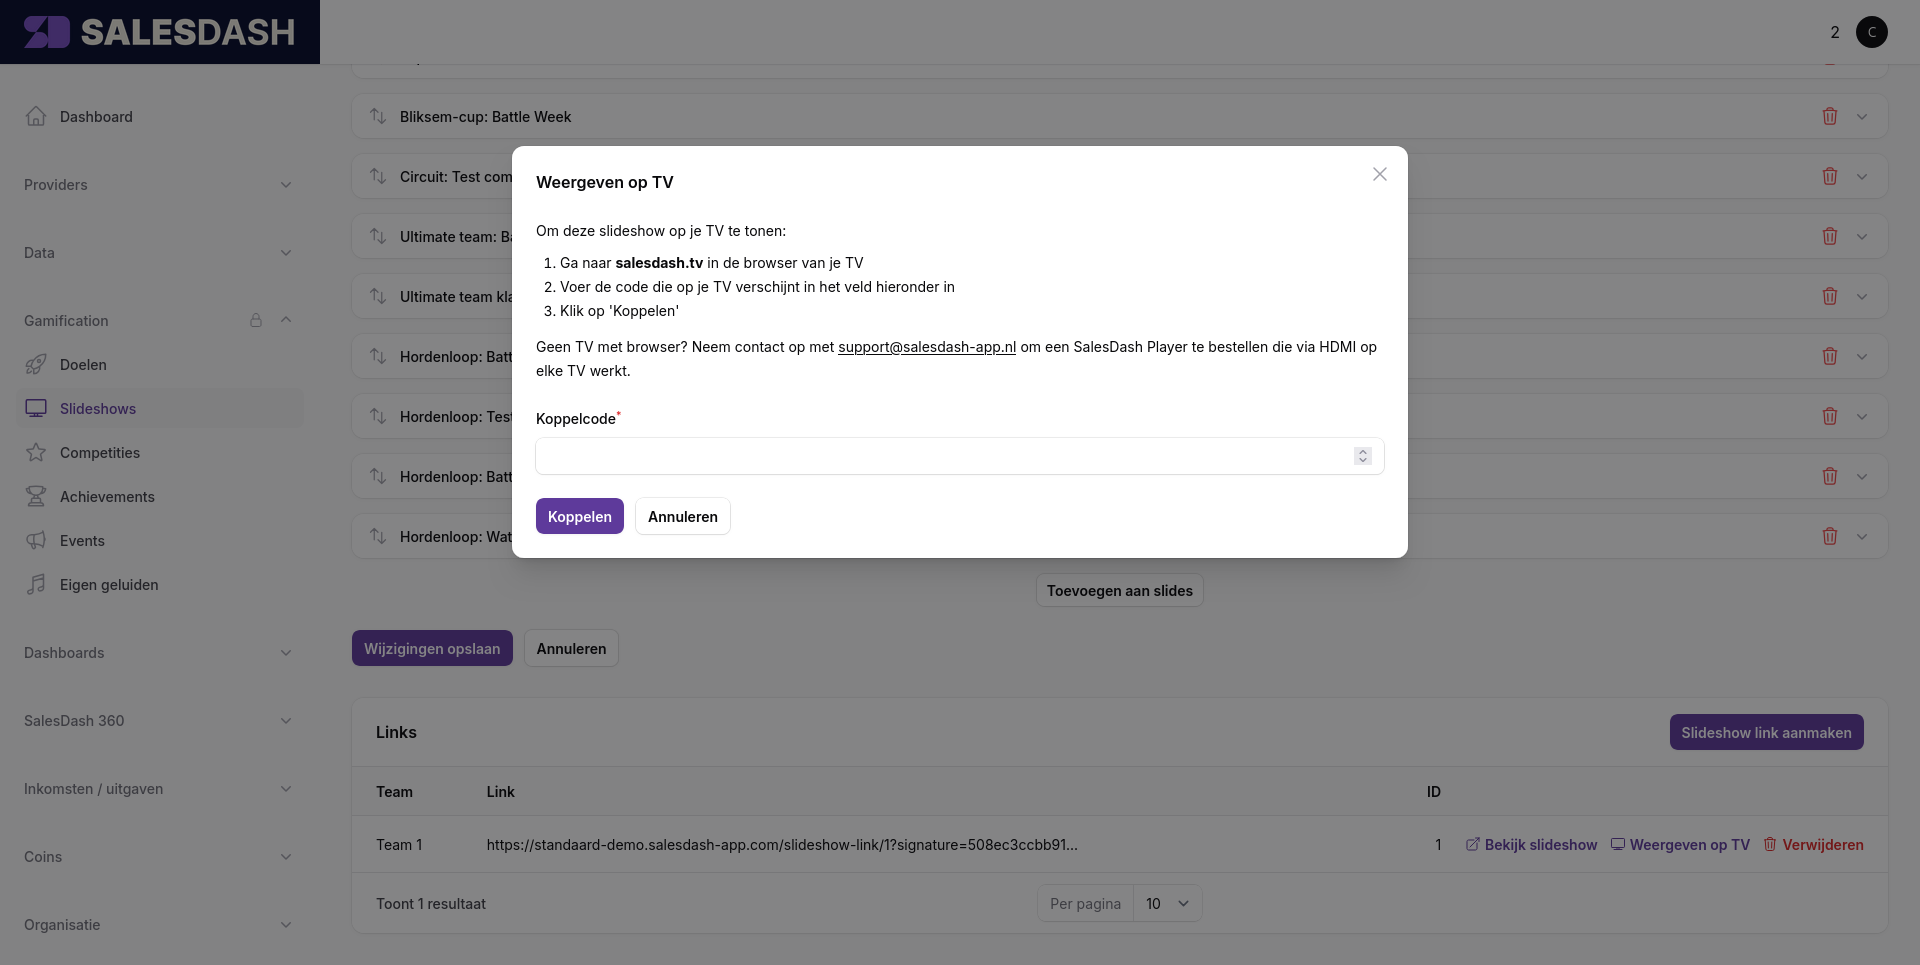
Once the Player is connected, the TV shows a pairing code.