English
English

The Spec Builder is the interface where you compose a processor's spec. It's a full-page, three-panel app modelled on no-code function-stack builders like Xano and Make.
You reach it from Providers → Processors → (a processor) → Edit spec.
The page is split into three columns.
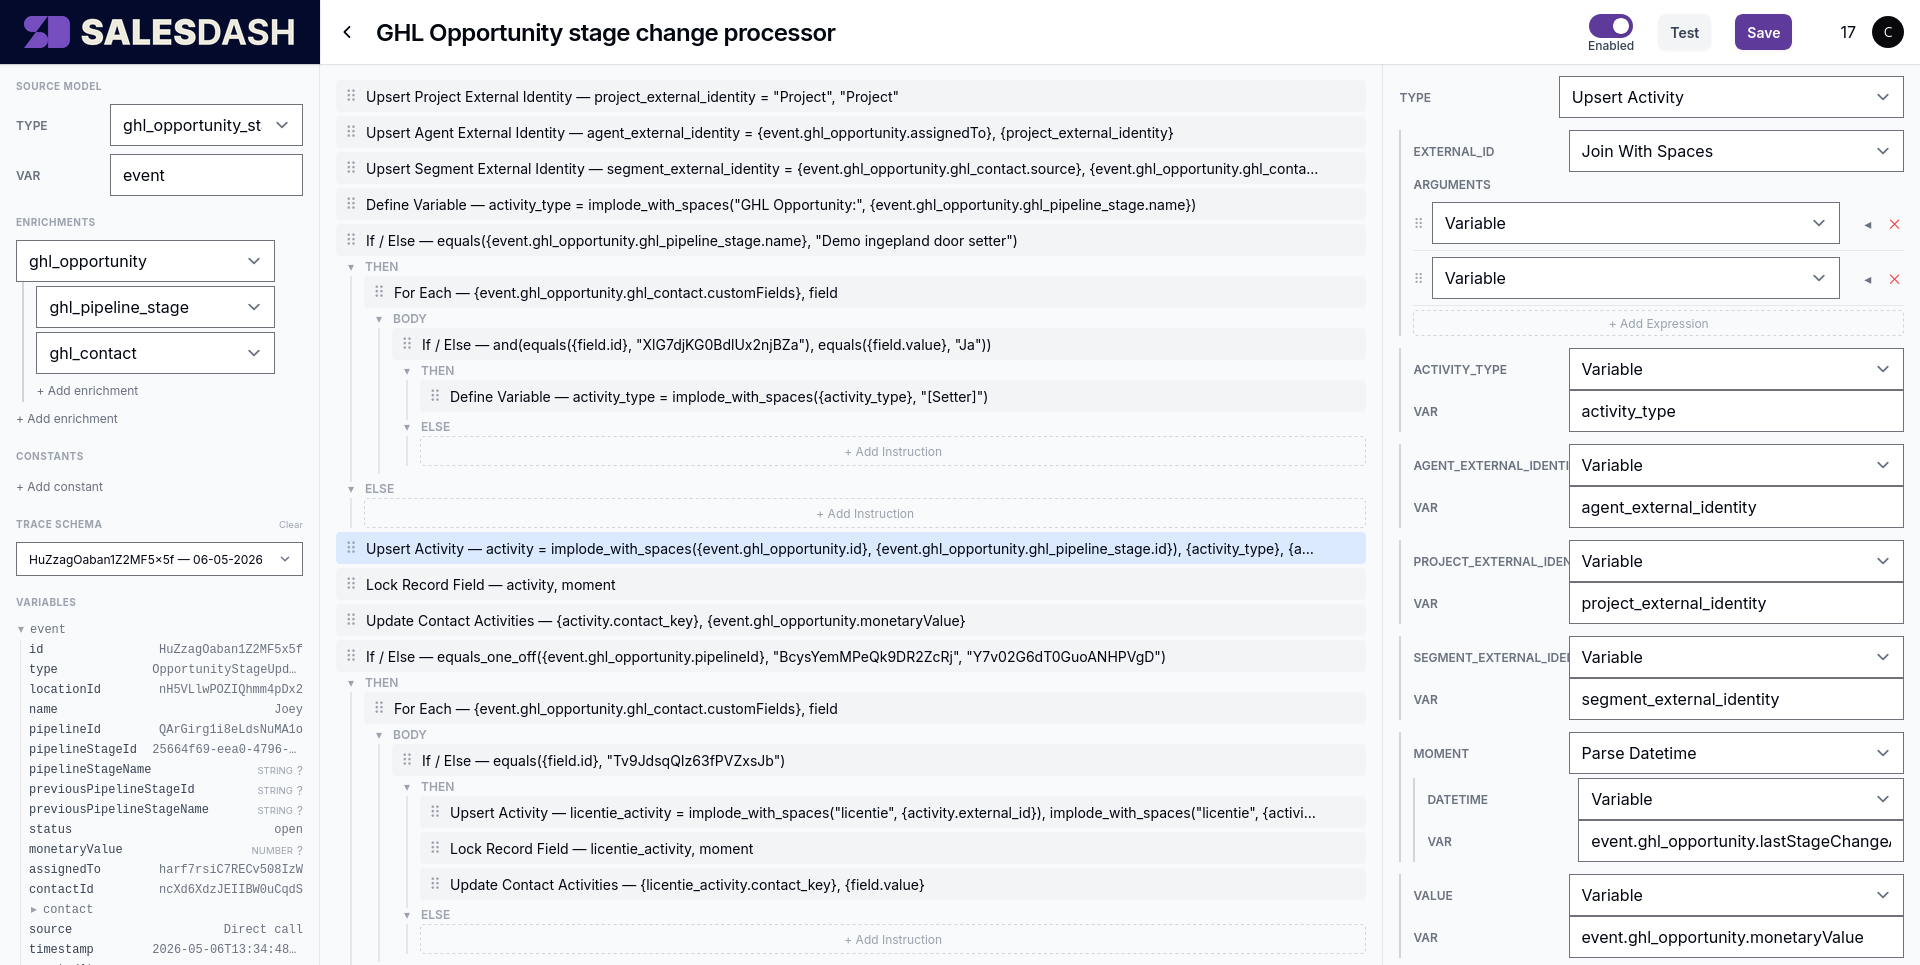
Top-level fields on the spec, in this order:
Changes to the left panel reshape what the rest of the spec is allowed to reference. Removing a constant or an enrichment that's still in use will produce a validation error on save.
The body of the spec: a vertical list of instructions, executed top to bottom. Every instruction is either an operation (does something — upsert_activity, define_variable, …) or a block (contains other instructions — if_else, for_each).
if_else shows the then and else lists; for_each shows its body).Example
The tiny processor from the Architecture page renders here as a single instruction in the center panel: one upsert_agent_external_identity with a one-line summary. Clicking it selects the instruction and opens its fields in the inspector on the right.
The editing form for the currently selected instruction.
The first field is the instruction type selector — change the instruction's type (e.g. from upsert_activity to if_else) without re-adding it from scratch. Below it, the schema-driven form for that instruction's fields: literal text inputs, variable pickers, expression builders, sub-expression lists. Both operations and blocks have fields edited here; a block's child instructions live in the center panel.
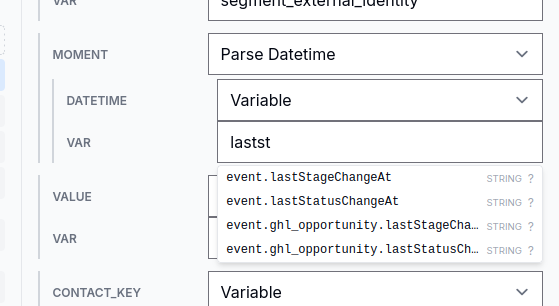
Variable pickers and expression-builder fields are aware of the current variable scope at this point in the spec. Autocomplete suggests only what's actually available — including any variables introduced by earlier operations with a return_as field (define_variable, upsert_*, etc.), and the item variable inside a for_each body.
Expression fields are written as formulas, and a formula gives you no clue which argument goes where — string_replace takes three, but which one is the text and which is the thing being replaced?
Put the caret between an expression's parentheses and the editor shows its signature, with the argument you are currently filling in highlighted:
string_replace(subject, "search", "replace"?)Read it as follows:
subject — take an expression: a variable, a literal, or another expression nested inside."search" — take a literal value only. A variable or a nested expression in that position is rejected when you save.{item_as} — take a variable name.… — arguments… — means the argument repeats: concat takes as many as you give it.? — "replace"? — means the argument is optional.Below the signature is a line describing the highlighted argument — whether it is a literal or an expression, which type it expects, and whether it is required — and a link to that expression's entry in the Expressions reference.
The same signature appears in the autocomplete list as you type a function's name, so you can see what a function takes before you pick it.
The scope panel lists every variable available at the currently selected step, with each entry showing its inferred type (string, integer, datetime, agent_external_identity, …). See Variables and types for the full picture of what's in scope where and how the type system works.
When viewing a previously-run execution in the trace viewer, or when a historic run is selected in edit mode, the scope panel additionally shows the actual value each variable held at that step — useful for understanding why a condition went the way it did.
Saves are explicit:
Every save runs the full spec validator before writing. If the spec is invalid, the save is rejected and the errors appear inline:
agent_external_identity)Successful saves that change the spec create a new immutable spec version. You can re-run a previous execution against the current saved spec from the trace viewer — useful for verifying that a fix actually changes the outcome before enabling the processor.
Versions in the topbar lists every version of this processor's spec, newest first. Open one and the canvas shows it read-only, so you can read what the processor used to do before deciding anything. The version currently running is marked current and cannot be opened — it is already what you are looking at.
From there, Restore this version puts that spec back. Restoring is an ordinary save: it is validated like any other, and it writes a new version rather than deleting anything, so the spec you restored from is still in the list. Cancel returns you to the current spec and changes nothing.
Two things worth knowing before you rely on it:
Now that you know where to click, the rest of this section is reference material for what to put in those clicks:
upsert_activity, upsert_sale, …)concat, parse_datetime, equals, …)if_else and for_each